Timing for Flashing Installations
Flashing installations are critical components in building construction and maintenance, providing waterproofing and protection against water intrusion. The optimal timing for installing flashing depends on various factors including weather conditions, project phase, and material readiness. Proper scheduling ensures durability, effectiveness, and compliance with building standards.
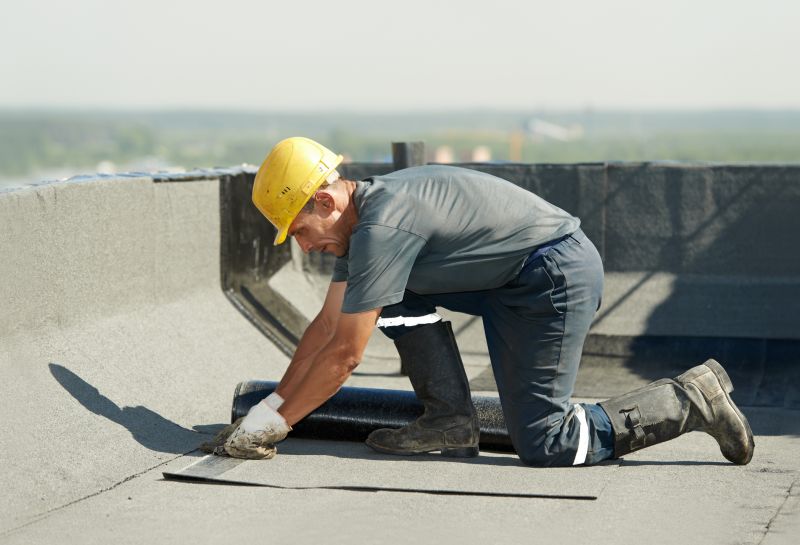
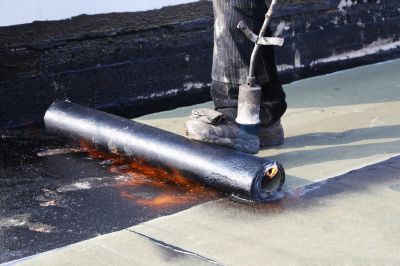
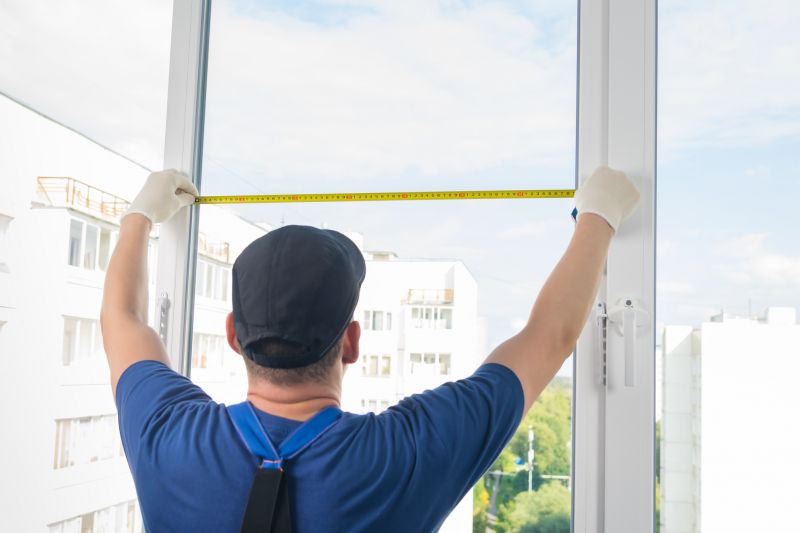
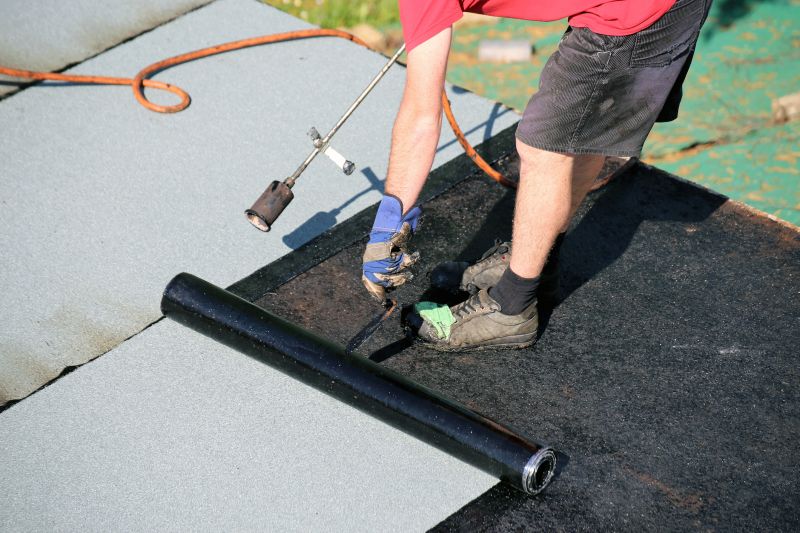
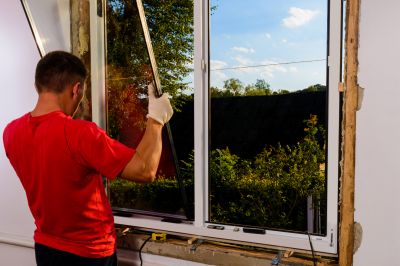
Installing flashing during dry weather prevents moisture-related issues and ensures proper adhesion and sealing.
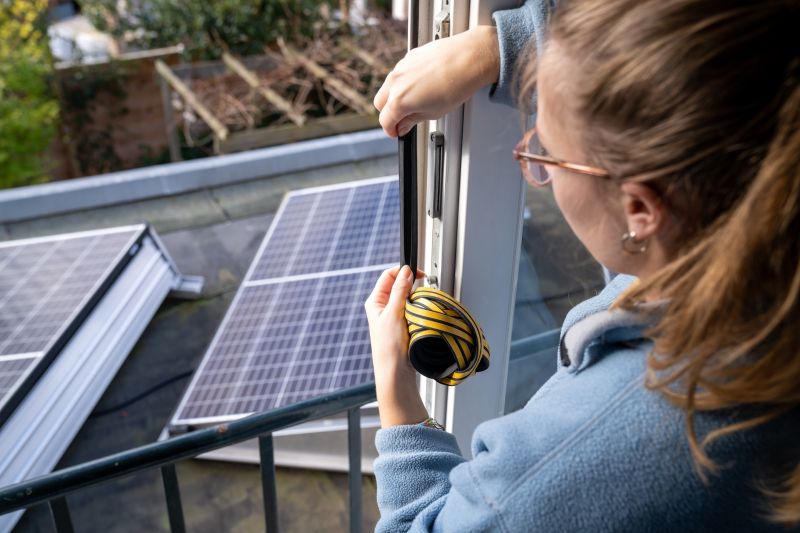
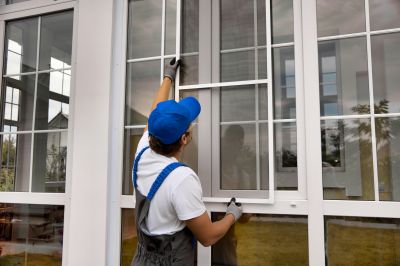
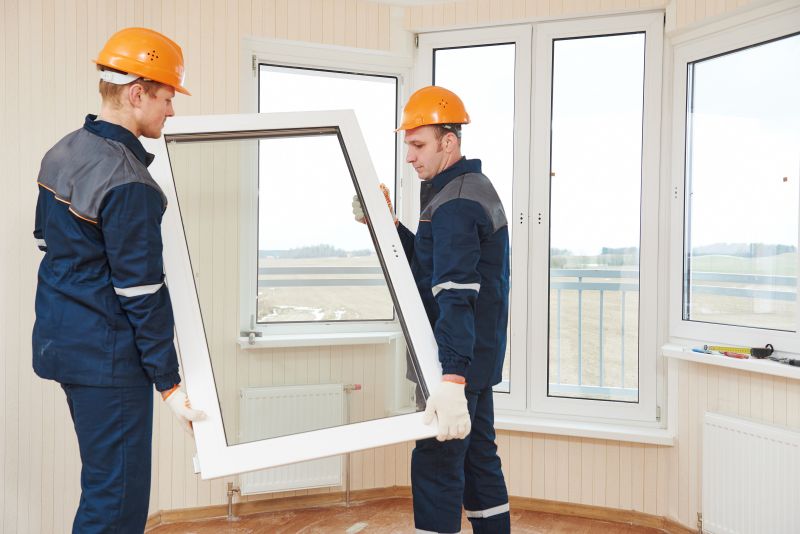
Flashing should be installed after the primary structure is weather-tight but before interior finishes to maximize protection.
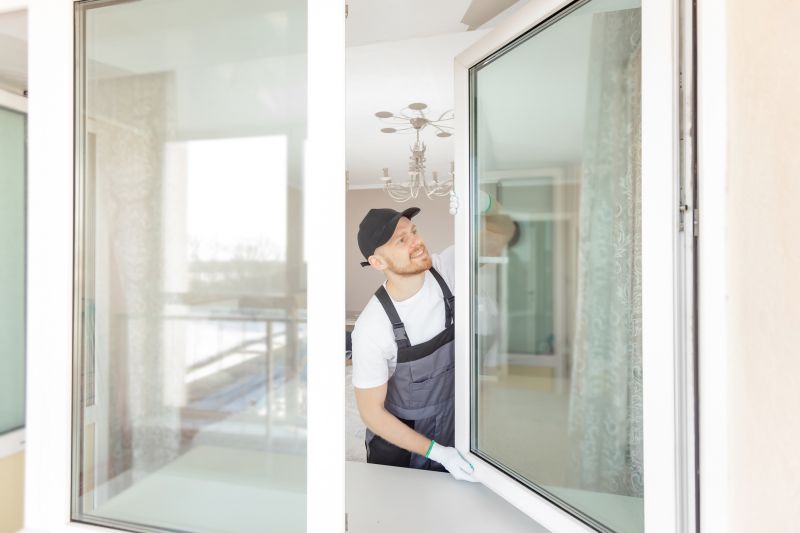
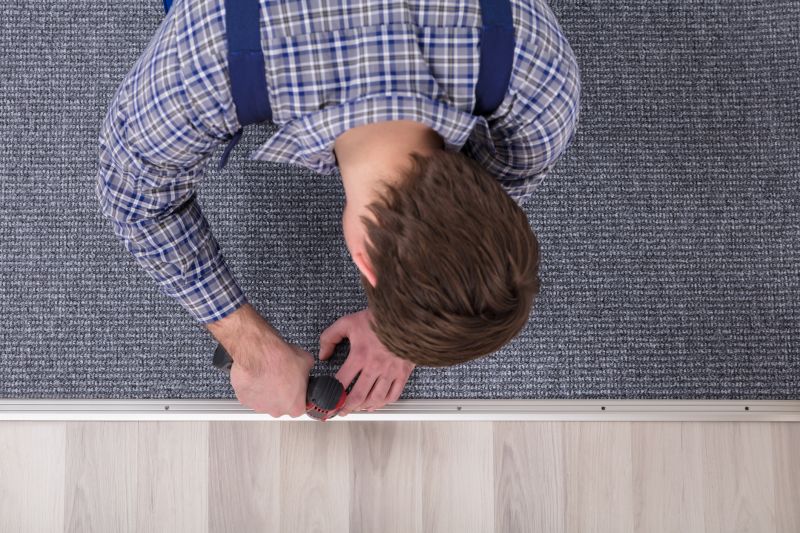
Materials should be on-site and prepared to avoid delays that could compromise the installation process.
Spring and early summer typically offer favorable conditions for flashing installation in many regions.
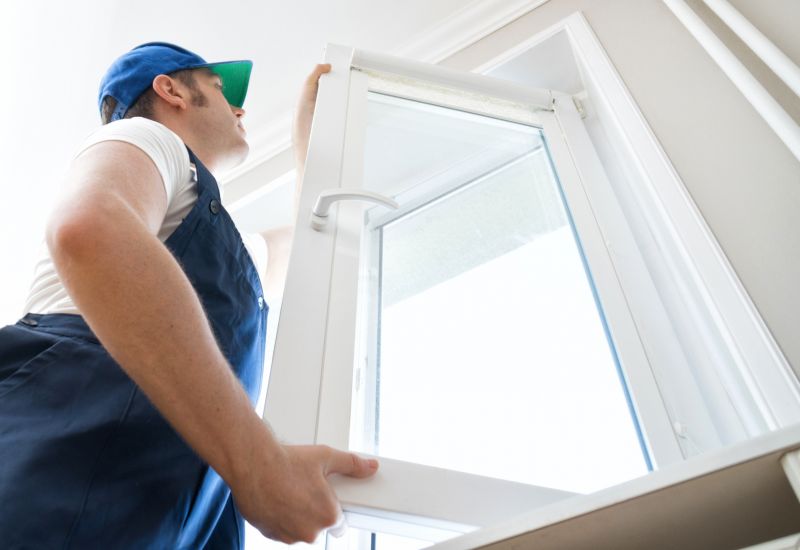
Workers applying flashing during clear weather ensure optimal sealing.
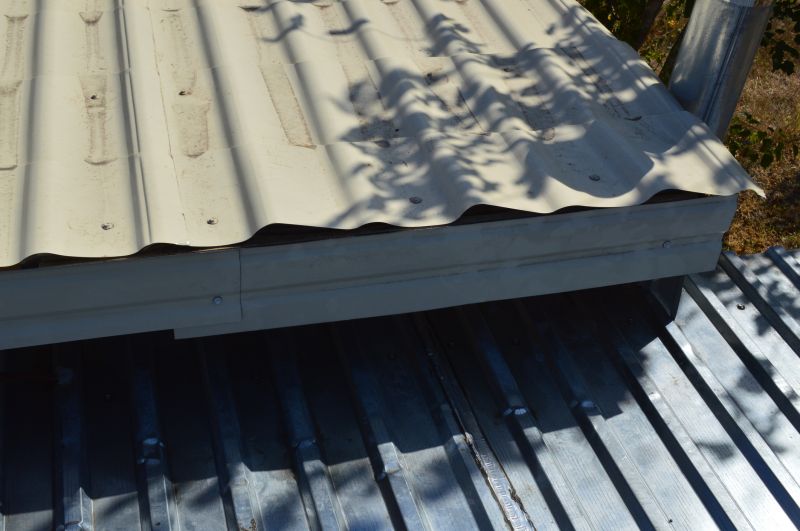
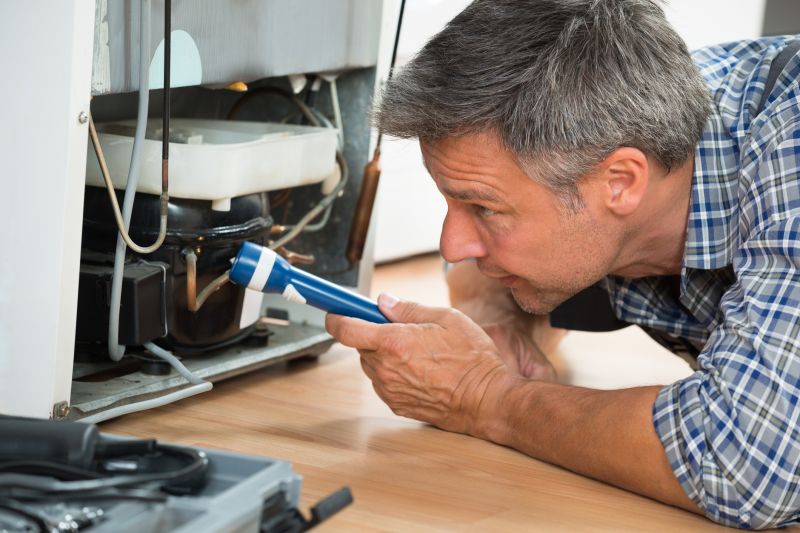
Proper timing prevents water penetration at vulnerable points.
Ensuring materials are available at the right time avoids delays and damage.
Ways to make Flashing Installations work in tight or awkward layouts.
Popular materials for Flashing Installations and why they hold up over time.
Simple add-ons that improve Flashing Installations without blowing the budget.
High-end options that actually feel worth it for Flashing Installations.
Finishes and colors that play nicely with Flashing Installations.
Flashing installations are essential for directing water away from building joints, roof penetrations, and wall intersections. They serve as a barrier that prevents water infiltration, which can lead to structural damage, mold growth, and costly repairs. Proper installation techniques and timing are vital to maximize their effectiveness and lifespan.
Ensures water is directed away from critical areas.
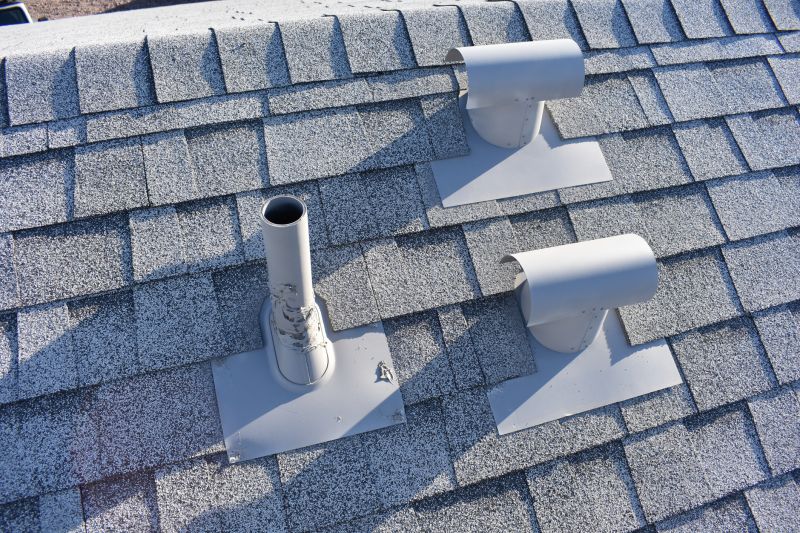
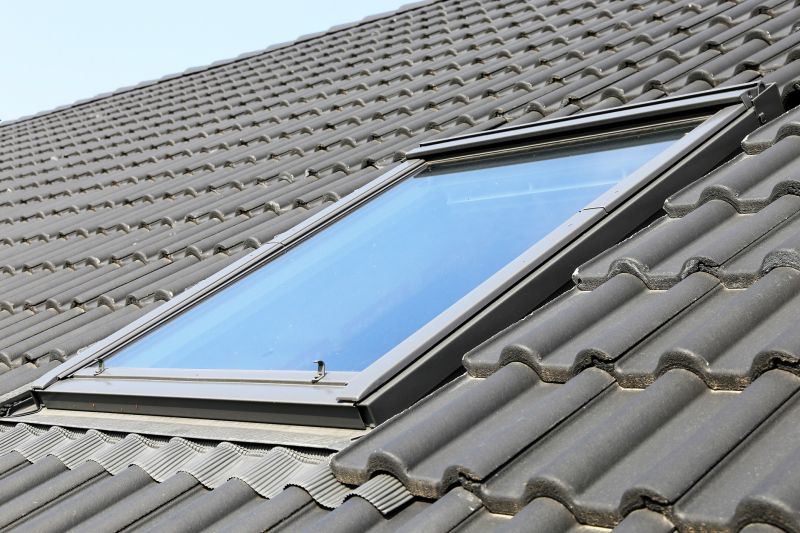
Protects roof edges and penetrations from leaks.
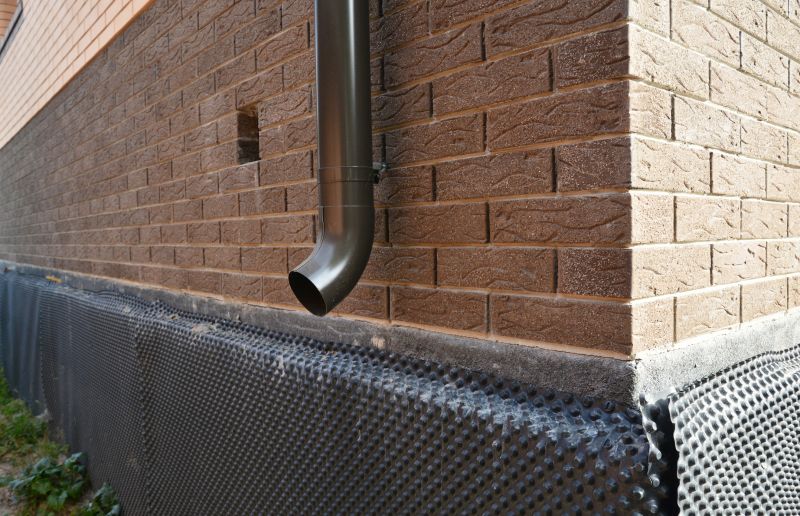
Prevents water intrusion at wall joints.
Timing installation during suitable weather extends durability.
Little measurements that prevent headaches on Flashing Installations day.
A 60-second routine that keeps Flashing Installations looking new.
A frequent mistake in Flashing Installations and how to dodge it.
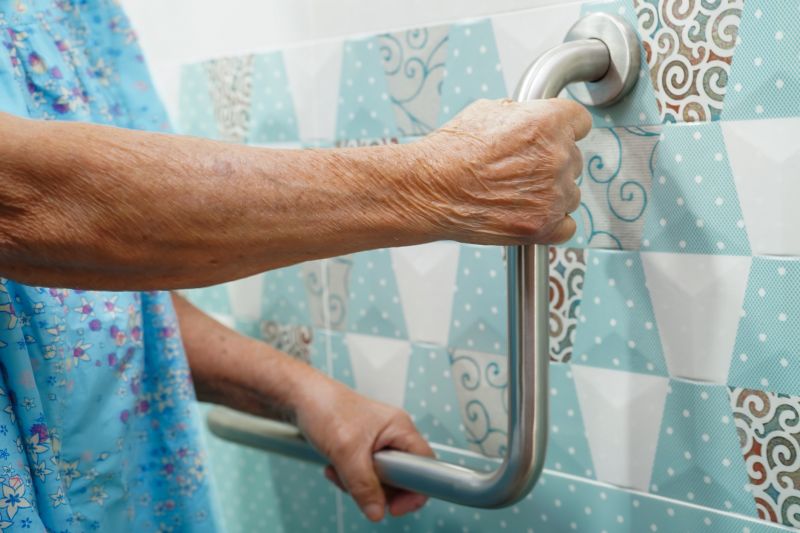
Small tweaks to make Flashing Installations safer and easier to use.
| Aspect | Details |
|---|---|
| Best Seasons | Spring and early summer generally offer optimal conditions. |
| Weather Conditions | Dry, mild weather prevents moisture issues during installation. |
| Project Stage | After structure is weather-tight, before interior finishes. |
| Material Availability | Ensure all flashing components are on-site beforehand. |
| Building Code Requirements | Align installation timing with local regulations. |
| Regional Climate | Adjust timing based on regional weather patterns. |
| Worker Safety | Schedule during periods with favorable weather for safety. |
| Inspection Windows | Coordinate with inspection schedules for timely approval. |
Proper timing ensures effective water runoff management.
Installation during suitable weather prevents leaks.

Timely application protects against water intrusion.
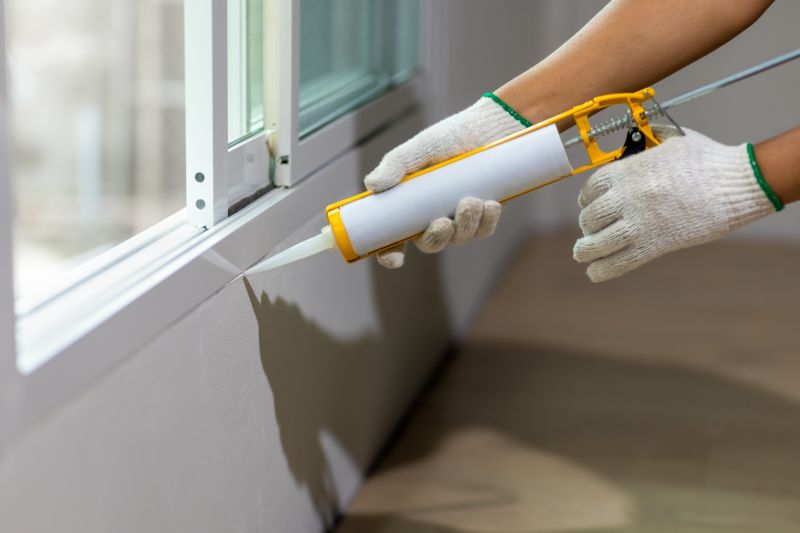
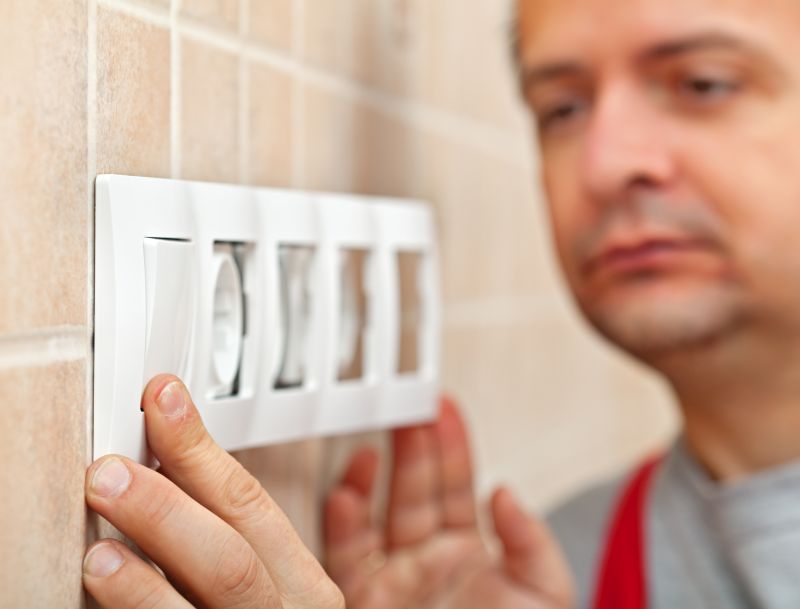
Correct timing ensures a secure seal around openings.
Lower-waste or water-saving choices for Flashing Installations.
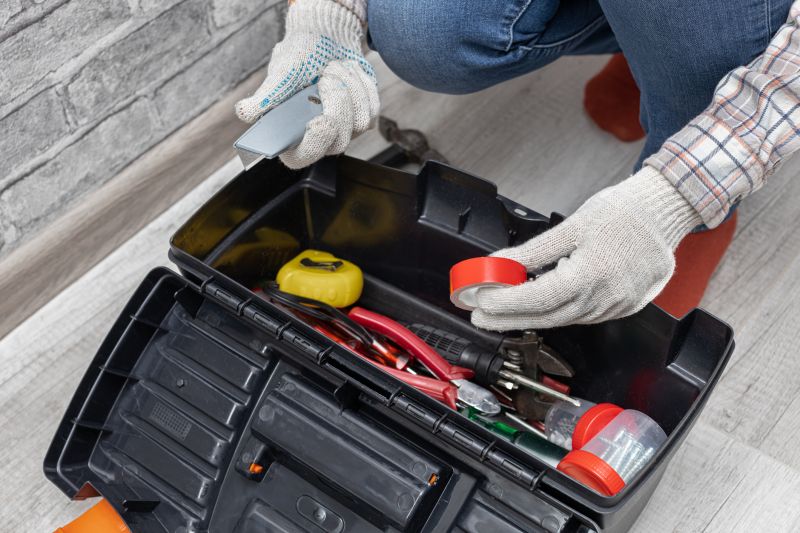
The short, realistic tool list for quality Flashing Installations.
Rough timing from prep to clean-up for Flashing Installations.
Quick checks and paperwork to keep after Flashing Installations.
Interested in scheduling flashing installations? Filling out the contact form can provide more information and assistance in planning the optimal timing for specific project needs. Proper scheduling enhances system performance and protects building integrity over time.