Flashing Installation Services for Property Owners
This page explains flashing installation services and helps compare local contractors who perform this work.
- - Residential property owners seeking to enhance curb appeal with professional flashing installation services.
- - Commercial building managers needing reliable flashing solutions for storefronts and industrial facilities.
- - Contractors looking to connect with local specialists for expert flashing installation on various property types.
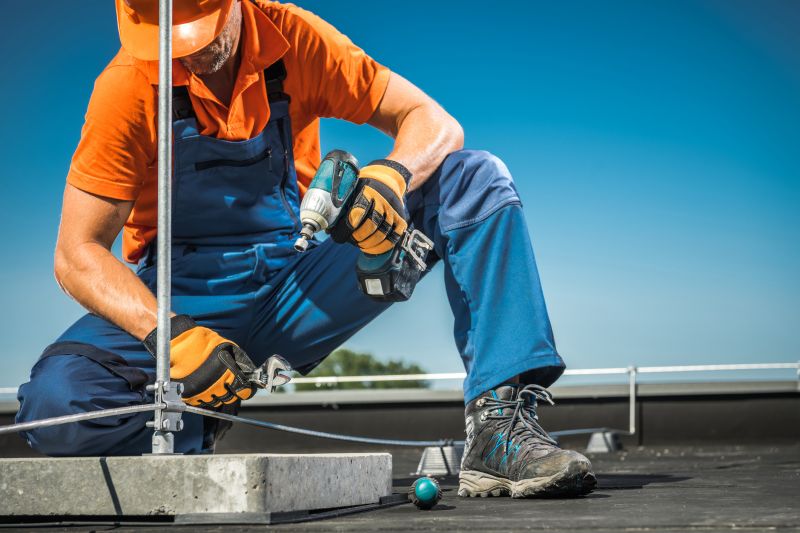
Flashing installation services involve the application of protective metal or vinyl materials around roof edges, chimneys, vents, and other vulnerable areas to prevent water infiltration and damage. Property owners often seek assistance from local contractors who specialize in this work to ensure proper sealing and weatherproofing. These professionals typically handle a range of tasks, including inspecting existing flashing, repairing or replacing worn or damaged sections, and ensuring that all joints and seams are properly sealed for optimal performance.
Local service providers in this field are experienced in working with various building materials and architectural styles. Homeowners and property managers might turn to these experts when dealing with leaks, water stains, or when undertaking renovations that require flashing updates. Connecting with qualified local pros can help ensure the work is completed accurately, using appropriate techniques and materials suited to the specific needs of each property.
This guide provides helpful information to understand flashing installation projects and the key factors to consider. It assists in comparing local contractors and understanding the basics of the work involved. The aim is to help visitors prepare to connect with qualified service providers in their area.